
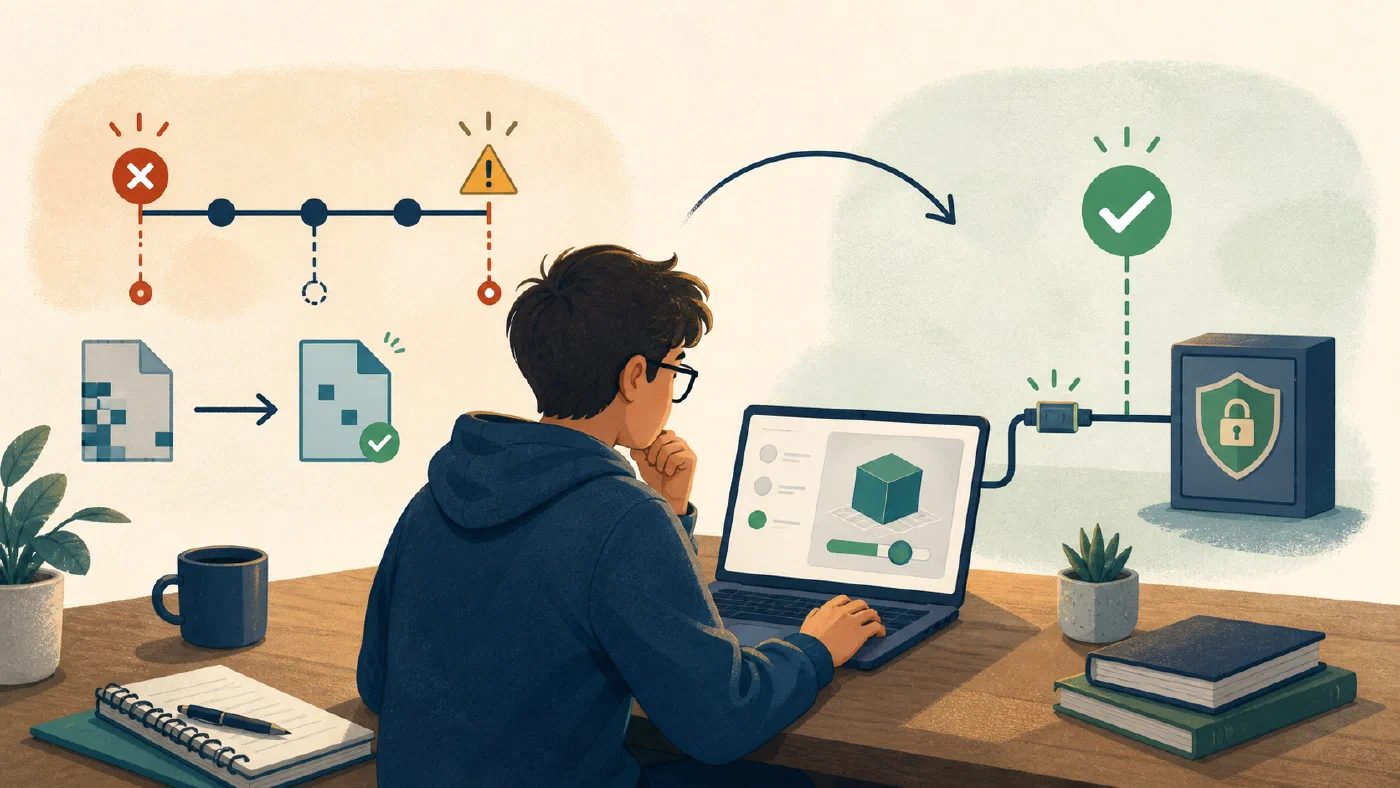
After a technical crisis, do not settle for “it works again.” Record what happened, identify the protection that was missing or unclear, and test one small improvement while the evidence is still available.
A postmortem is not a confession and it is not a search for someone to blame. It is a short record that helps you make the next failure less damaging and easier to explain.
Capture the incident before memory edits it
Write the first version from your working log, file history, messages, and recovery evidence. Use five sections:
# Technical incident postmortem

## Event
What happened, with dates and observable symptoms?

## Impact
What work, deadline, or capability was affected?

## Evidence
Which files, histories, backups, messages, or tests support this account?

## Missing protection
What would have reduced the impact or shortened recovery?

## Tested next change
What small change did I make, and how did I verify it?
Keep facts and hypotheses separate. “The recovered file came from commit abc123” is evidence. “The editor caused the loss” may be a hypothesis unless you tested it.
A completed example
Consider a student who kept a programming assignment on one laptop and made occasional Git commits. The student accidentally reset the branch, recovered most of the code from the reflog, and submitted a verified export after checking the file contents.
The postmortem might read:
# Technical incident postmortem

## Event
At 8:20 p.m., I ran a branch reset while trying to return to the last passing
test. The working tree then lacked the parser function I had written earlier.

## Impact
The final comparison and submission were delayed. The course deadline remained
possible, but I had less time to verify the recovered version.

## Evidence
The incident log records the command and time. The reflog identified a prior
HEAD, and `git show` displayed the missing function in that commit. The final
export passed the permitted tests and was submitted through the course channel.

## Missing protection
I had not made a recovery copy before experimenting, and my checkpoint message
did not explain which test result belonged to which commit.

## Tested next change
For the next assignment, I will make a named recovery copy before branch
experiments and record the commit identifier beside each test result. I tested
the copy-and-restore note in a disposable repository; it produced a separate
working folder without changing the source repository.
This account is useful because it identifies a process gap without claiming that one command is always unsafe or that one tool caused the incident. The next change is narrow enough to repeat and verify.
Turn the lesson into a repeatable check
The phrase “make more backups” is too vague to verify. Convert the selected protection into a small procedure with a visible result:
Before the next assignment:
1. Create a named recovery copy before a branch experiment.
2. Record the commit identifier beside the test result.
3. Restore one harmless file into a new folder.
4. Compare its expected marker and line count.
5. Record: Result: pass / fail / partial.
An example result might be:
Source: parser-practice/
Restore destination: recovery-check-2026-08-28/
Expected marker: parser checkpoint A
Observed: marker present; source files unchanged
Result: pass
The result is deliberately modest. It shows that this one recovery path worked for this test file. It does not prove that every folder is protected, that the backup is available from a lost device, or that a future repository incident will have the same cause. Those are separate questions for separate tests.
At the next review, ask: Could I follow the procedure without relying on memory? Did the test leave the source untouched? Did the recovered contents match what I expected? If any answer is no, keep the postmortem open and revise the procedure. A hardening record earns its place by making the next action clearer, not by declaring the system permanently safe.
Find the smallest useful hardening change
Do not respond to one incident by building an entire new productivity system. Choose the smallest change that addresses the observed gap:
| Observed gap | Possible small change | Verification |
|---|---|---|
| The only copy was on one device | Put a disposable test file inside the intended backup scope | Restore that file to a new location and compare it |
| Important work was not committed | Add a project checkpoint rule | Make a practice commit and confirm it appears in history |
| The recovery steps were unclear | Write a short recovery note | Follow the note from a separate copy |
| The setup depended on memory | Record versions and installation steps | Recreate one small part from the record |
| The deadline risk was discovered too late | Add a personal “technical risk” checkpoint before submission | Run the checkpoint on the next assignment |
The backup restoration article distinguishes a backup process from tested recovery. The same idea applies to documentation: a recovery note is useful only when another attempt can follow it.
Test the change without creating another incident
Use disposable data whenever possible. Do not delete real coursework to test a backup. Do not reset a real repository to test Git recovery. Do not reinstall a working computer to test an operating-system recovery path.
A safe test has a known starting state, one deliberate change, an expected result, and evidence that you can inspect. For example:
Starting state: restore-test.md exists in the protected course-work folder.
Change: run the normal backup process.
Expected result: the backup system reports that the file is included.
Test: restore it to a new folder.
Evidence: restored file contains the expected marker and line count.
If the test fails, record that result. A failed rehearsal is useful information when it happens before the next deadline.
A good hardening change also has a stop condition. If a test unexpectedly edits the source, exposes a secret, or depends on an undocumented account setting, stop the rehearsal, preserve the current state, and record the failure. Do not “finish” the test by improvising on real coursework. Revise the procedure or ask for qualified help, then repeat it with disposable data.
Keep the system understandable
Hardening is not a reason to accumulate tools. Prefer a change that you can explain, inspect, reverse, and maintain. A short project README, a verified backup test, a simple commit habit, or a one-page recovery note may be more useful than another application.
The reversible changes article provides the general rule: inspect before changing, make a small change, preserve a rollback path, and verify the result. The system-understanding article explains why a student should be able to describe how the system works and how to recover from its failure.
Separate prevention from recovery
Some changes reduce the chance of a failure; others only make the failure easier to recover from. Both can be useful, but they should not be described as the same protection.
For example, a commit checkpoint may preserve a version of source code, while a tested backup may preserve files outside Git. A recovery note may shorten the time needed to find either copy, but it does not create a copy by itself. Label the change you tested:
Protection type: version history / recovery copy / procedure
Failure it addresses:
What it does not address:
Evidence from the test:
This distinction prevents a student from concluding that one successful Git recovery proves that course downloads, untracked files, or the whole laptop are protected. Name the failure the change addresses, then choose the next layer only if the evidence shows a remaining gap.
Close the loop with the course work
If the incident affected a submission, confirm the final state:
- which version was submitted;
- how the submission was delivered;
- what evidence confirms delivery;
- what remains unresolved; and
- whether the instructor needs an update.
Do not treat a successful upload as proof that the correct file was submitted. Open the final copy, check its contents, and preserve the receipt or other confirmation required by the course.
Common mistakes
- Writing a postmortem before checking the available evidence.
- Choosing five preventive changes and testing none of them.
- Treating one failure as proof that a tool is always unsafe.
- Testing recovery with irreplaceable data.
- Recording the lesson but not the procedure someone would repeat.
- Leaving the incident log full of secrets or private course information.
Do this now
Use a disposable file and write a five-part postmortem for a fictional failure. Make one small hardening change, then verify it. Keep the result as a reusable recovery note.
Log what you learned
Record the evidence that supported your account, the protection gap you selected, the test you ran, and the result. If the change did not work, record the next safe experiment instead of marking the incident resolved.