
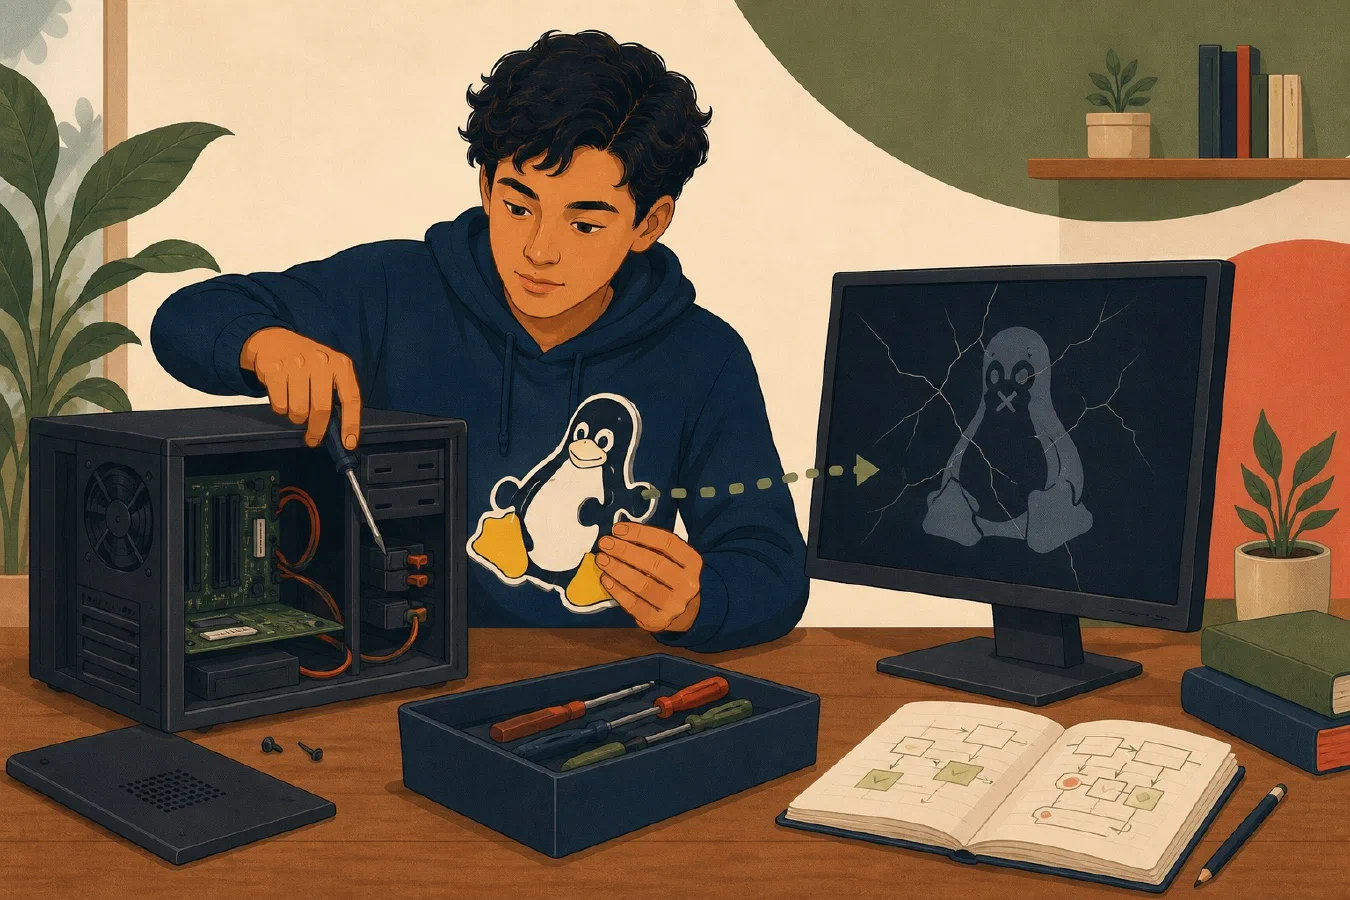
Prepare recovery before Linux stops booting, but do not break or reinstall a working computer for practice. Rehearse the evidence and access paths: identify the failure layer, verify backups by restoring a test file, verify recovery media and documentation, clone a project into a new location, and test the setup repository in a disposable environment.
Before treating a backup as recovery evidence, use your backup is only real if you can restore it to test one file restore and record what the test proves.
A real repair can overwrite boot configuration, filesystems, encryption metadata, packages, or data. Stop and escalate when the storage, encryption, ownership, management policy, or required repair is not fully understood.
Separate the failure layers
Start with the narrowest observed failure:
| Layer | Example evidence | First recovery direction |
|---|---|---|
| Application | One program fails; login and other work succeed | Application logs, config, project environment |
| User shell/config | Login works elsewhere; one shell startup fails | Alternate shell or reviewed user config |
| Service/session | Graphical or course service fails | Read-only process, unit, and journal inspection |
| Package/update | Failure follows a recorded transaction | Distribution package logs and supported repair |
| Kernel/boot target | Boot menu appears; selected entry fails | Previous kernel or documented rescue target |
| Boot loader | Firmware finds disk but no valid entry starts | Distribution boot-media recovery |
| Filesystem/storage | I/O errors, missing device, corruption warning | Stop writes; expert and hardware assessment |
| Encryption/access | Recovery prompt or unknown key ownership | Verify key and owner; do not guess or reformat |
| Hardware | Firmware, memory, power, or disk evidence | Vendor or qualified repair support |
Do not jump from an application error to reinstalling Linux. Record exact error text, time, last known good state, and last deliberate change.
Write stop and escalation conditions
Stop self-repair when:
- the device is institution-owned or centrally managed;
- backup restoration has not been verified;
- disk encryption or recovery-key ownership is unclear;
- storage reports I/O, SMART, filesystem, or physical failure symptoms;
- a proposed step repartitions, formats, reinstalls, or rewrites a boot loader;
- the correct root, boot, EFI, or data partition is uncertain;
- a RAID, LVM, ZFS, Btrfs, encrypted, or dual-boot layout is not understood;
- evidence may be needed for security, misconduct, legal, or warranty review;
- the machine holds the only copy of important data; or
- the next instruction comes from a different distribution or release.
Contact campus IT, the device owner, the distribution’s documented support channel, or a qualified technician. Do not bypass management or security controls.
Build a recovery card
Store a non-secret copy somewhere available when the computer is offline:
# Linux recovery card

- Device owner and IT contact:
- Distribution, release, architecture:
- Firmware and boot-menu access:
- Disk layout description:
- Encryption in use and key location confirmed:
- Backup sources and last restore test:
- Official image and verification instructions:
- Official rescue documentation:
- Setup-repository location:
- Course repositories and separate data:
- Network and power needs:
- Stop conditions:
Record where a key can be recovered, not the key itself. A recovery card stored only on the broken encrypted disk is not accessible recovery documentation.
Know distribution-specific rescue paths
Rescue interfaces differ.
Debian’s current installer guide documents a rescue mode that detects hardware and can offer a shell in a selected installed root or in the installer environment. The same guide warns that broken-system repair can be difficult and cannot be covered by one generic procedure.
Ubuntu Desktop commonly offers older kernel entries and recovery entries through GRUB’s advanced options. Exact menu access depends on firmware, boot configuration, release, and hardware. Use the installed release’s current Ubuntu documentation; Ubuntu Core has a different recovery system and is not covered by Desktop instructions.
Fedora and RHEL-family systems use systemd rescue or emergency targets and can
provide installation-media rescue environments. Current
RHEL 10 systemd guidance
distinguishes rescue.target from the more minimal emergency.target.
RHEL installation-media rescue is another environment with its own mount
choices. Fedora details can differ; use Fedora’s documentation for the
installed release rather than applying RHEL commands blindly.
These modes can provide privileged access and writable mounts. Entering a shell is not permission to improvise a repair.
Run a non-destructive rehearsal
1. Verify backup restoration
Restore one nonprivate test file to a new location. Open it, compare expected content, and record source, destination, timestamp, and result. Sync status or a backup job’s “success” message is not a restore test.
2. Verify recovery media without mounting the installed disk
Obtain an official image for the installed distribution and follow its signature or checksum verification guide. Boot it on the device only when policy allows.
In the live or rescue environment, verify:
- keyboard, display, and accessibility;
- network only if recovery requires it;
- the environment’s distribution and release;
- that internal storage is detected; and
- that you can exit and boot the installed system normally.
Do not start an installer, mount internal filesystems read-write, run filesystem repair, unlock encrypted volumes, change partitions, or reinstall a boot loader. Detection is enough for this drill.
3. Restore a project separately
Clone one authorized practice repository into a new directory. Restore any separate test data from its documented source. Run the project verification without relying on the already configured original checkout.
4. Test setup artifacts in disposable state
Inspect the Ubuntu 26.04 setup manifest and scripts. Run syntax and read-only verification. If possible, use a disposable virtual machine matching the named target. Do not apply the bootstrap to the working host merely to prove it can run.
5. Simulate diagnosis on paper
Choose a scenario such as “the newest kernel does not reach graphical login.” Write the observations you would collect, official page you would open, previous entry you might test, stop condition, and escalation contact. Do not alter the boot configuration.
Decide among four actions
- Inspect: gather read-only evidence; appropriate when the failure layer is uncertain.
- Repair: make one supported, reversible change after a checkpoint.
- Roll back: return to a known package, kernel, configuration, snapshot, or backup state when that mechanism is documented and verified.
- Reinstall: destructive last resort after data recovery, authorization, exact media selection, encryption review, and a complete rebuild plan.
History logs and package caches are not guaranteed rollback. Filesystem repair tools can discard damaged structures to regain consistency. Boot-loader repair can make other systems unbootable. These are expert operations when the layout or consequences are uncertain.
Produce a gap report
## Linux recovery rehearsal

- No installed-system repair or reinstall performed: yes
- Test file restored:
- Official media verified:
- Live/rescue boot tested:
- Internal storage only detected:
- Practice project restored and verified:
- Setup documentation tested:
- Missing dependency or access:
- Stop condition encountered:
- Corrective owner and date:
Fix gaps at their source: backup policy, account recovery, setup repository, project documentation, or IT ownership.
Common mistakes
- Breaking a working machine to test recovery.
- Treating a live image as authorization to edit disks.
- Applying Ubuntu, Debian, Fedora, and RHEL repair commands interchangeably.
- Mounting storage read-write before preserving evidence.
- Running filesystem repair without verified backup and expert judgment.
- Reinstalling before identifying encryption, data, and management ownership.
- Storing recovery documentation only on the machine.
- Stopping after the system boots without verifying coursework.
Do this now
Begin with a readiness gate: confirm ownership, backup access, required credentials, official recovery information, and permission to inspect the device. Stop if any required access or authority is unresolved. Then restore one test file and record the result. Verify media, restore a practice project, and test setup documentation only as later stages. Do not repair, repartition, reset, or reinstall the working computer.
Log what you learned
The Linux recovery card and rehearsal gap report are the learning log. Add each stage only after it runs, beginning with readiness and one file-restore result.