
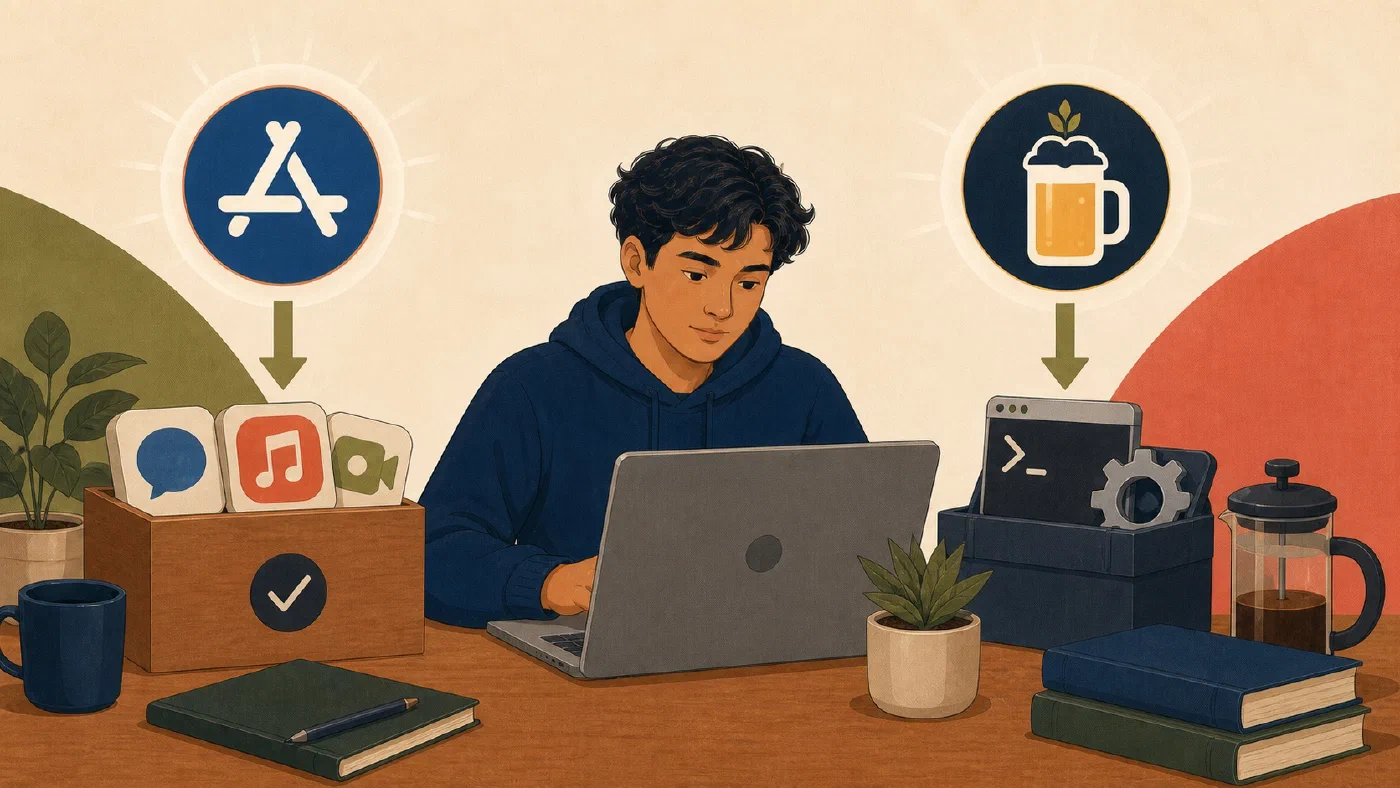
Give each installed item one primary owner. Use the App Store for an app when its Apple Account purchase history and App Store updates fit the requirement. Use Homebrew for an approved command-line tool, formula, or cask when explicit package identity and terminal-based maintenance are useful. Do not manage the same app casually through both.
The installer is part of the tool’s future maintenance. Before installing, name the source, package identity, update path, removal path, required privileges, and course constraint.
If Terminal, zsh, command resolution, or version checks are unfamiliar, first complete the macOS Terminal and zsh inspection exercise.
Choose the responsibility before the command
Use this first-pass decision:
| Question | App Store is often the better fit | Homebrew is often the better fit |
|---|---|---|
| What are you installing? | A Mac app distributed through Apple’s store | A command-line formula or a cask listed by Homebrew |
| Who records acquisition? | The signed-in Apple Account | The local Homebrew installation and package records |
| Who presents updates? | App Store | brew commands and package metadata |
| What must remain reproducible? | The app name and Apple Account access | The exact formula or cask token |
| What does the course require? | A specific store app or no stated method | A named command, version range, or Homebrew workflow |
This table is a starting point, not a universal ranking. A course or vendor may require a direct installer, managed distribution, or another package manager. Follow that requirement and record it as the responsible method.
Use the App Store as one complete path
Apple’s current App Store download guide says the button can show a price, Get, Open, or Update depending on acquisition and installed state. Purchases and redownloads are associated with the Apple Account.
Before selecting Get:
- Confirm the developer and exact app name.
- Read the price, subscription, and in-app purchase information.
- Check course compatibility and required macOS version.
- Decide which Apple Account should retain access.
- Record how you will verify the installed app.
After installation, open the app and use Finder → Applications → select the app → File → Get Info to record its version. Run one ordinary, noncritical course workflow.
Apple documents that the App Store tracks updates for apps acquired through it in Use the App Store to update apps on Mac. If an app came from another source, that source or developer remains responsible for its updates.
Understand Homebrew’s two common package types
Homebrew’s manual distinguishes:
- a formula, which defines a packaged tool commonly used from the command line; and
- a cask, which installs a precompiled binary, commonly a macOS application.
Do not infer the token from an app’s display name. Search and inspect first:
brew search example
brew info example
If Homebrew is not installed, those commands will not work. Do not paste an installer merely to make the exercise continue.
Stop before Homebrew installation when prerequisites are unclear
Homebrew’s current installation
documentation lists supported macOS and
hardware requirements and identifies Xcode Command Line Tools or Xcode as a
requirement for a supported installation. It also documents the default prefix:
/opt/homebrew on Apple silicon and /usr/local on Intel Macs.
If the Mac does not already have a verified Command Line Tools or Xcode environment, continue to install and verify Xcode Command Line Tools before installing Homebrew. Then return here. This ordering avoids treating an automatic developer-tools prompt as an unexplained side effect.
If Homebrew is already installed, inspect it without changing packages:
brew --version
brew --prefix
brew config
brew doctor
Read all brew doctor messages as diagnostic evidence. Do not copy a cleanup
command from a forum without understanding its targets.
For a new Homebrew installation, use only the current method published on
brew.sh or the official installation documentation. Read
the script, stated destination, requested privileges, and post-install shell
instructions before confirming. Do not run Homebrew itself with sudo.
Install one exact Homebrew item
Choose a low-risk item explicitly approved by a course or by your bounded setup plan. Inspect its official Homebrew record:
brew info package-name
Then install the correct type:
brew install package-name
or:
brew install --cask cask-name
Replace the placeholders only after verifying the exact token. Installation can also add dependencies. Record what Homebrew reports instead of describing the change as “installed one file.”
Verify with both Homebrew and the installed item:
brew list --versions package-name
command -v package-command
package-command --version
An application installed as a cask may need a graphical About or Get Info check instead of a command. Run one course-relevant workflow as the final verification.
Record the maintenance owner
## Mac software record

- Purpose:
- Exact app, formula, or cask:
- Responsible method: App Store | Homebrew | other
- Source and identity checked:
- Version installed:
- Update method:
- Removal method:
- Privilege or management prompt observed:
- Course workflow verified:
For the minimum first pass, complete Purpose, Exact app, formula, or cask, Responsible method, Version installed or observed, and Course workflow verified. Complete update, removal, and prompt fields after an installation or when deciding whether to retain an existing item.
Write deferred if the requirement, identity, prerequisite, or policy is
unclear. A justified non-installation is a valid result.
Common mistakes
- Installing the same app through the App Store and Homebrew.
- Treating Homebrew as the source of every upstream program.
- Guessing a formula or cask token from a product name.
- Installing Homebrew before understanding Command Line Tools.
- Running
sudo brew. - Assuming installation success proves the course workflow works.
- Forgetting which method should provide later updates and removal.
Do this now
Choose one approved, noncritical item. Complete the responsibility decision and software record. Install it only when identity, prerequisites, authority, and verification are clear. Otherwise record the stop condition and next source to consult.
Log what you learned
The Mac software record is the learning log. Save the item’s identity, responsible manager, verification, removal path, and stop condition there.
Next, establish a known Xcode Command Line Tools state before a supported Homebrew or development-tool workflow depends on it.